Every time before I pack my travel photo bag, I try to envision what kind of photos I expect to take on location for the job or portfolio work. In my early days of photography I was prepared for every possible photo situation by bringing most of my gear. I recall one time where I lugged 20 kg (40 lb) of DSLR gear in a backpack through Paris. That was an awful experience!
Since my switch to Fuji X cameras 3.5 years ago, thankfully my travel photo bag has become a lot lighter. The night before this trip to Paris I decided on the following gear to bring:
- Fuji X100S
-
WCL-X100 (wide conversion lens) for the X100S
- Fuji X-Pro 1
-
Samyang 8mm f2.8 fisheye lens
-
Fuji XF 14mm f2.8
That's 2 camera bodies plus 4 fast prime wide angle focal length weighing around 1.6kg (3.5 lb)!!! Add spare batteries and ND filters and you're still well below 2 kg (4lb) in your bag. That is only 10% of the weight of the gear that I took along a few years ago!
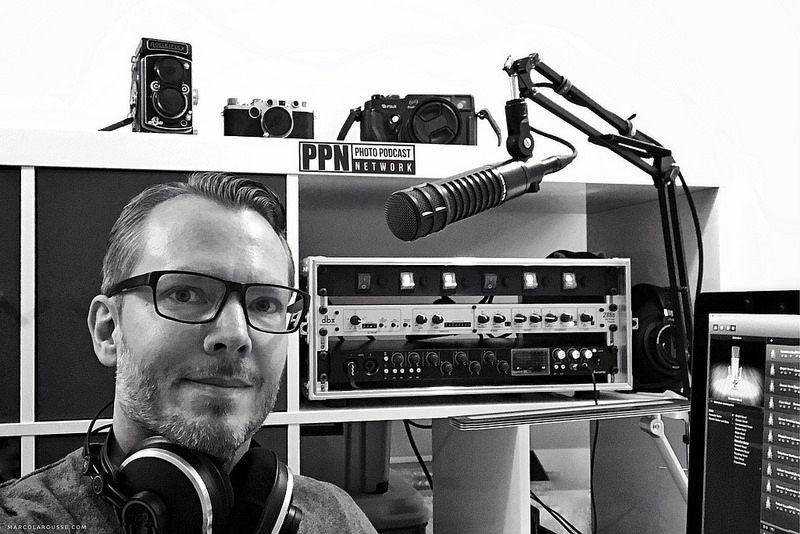
 |
| My Paris streeet photography gear |
Everything plus my iPad Air and battery chargers fit comfortably into my ThinkTank Retrospective 10 bag. With the small bag and photo gear there have been no hassles at airport security for me any more. A great way to start my trip quite relaxing despite the early red eye flight.
For my style of street photography I prefer wide angle lenses. I want to be close to the scene while still providing enough space around my subject to explain the situation to the viewer. In terms of 35mm film equivalent field of view I covered 12mm (8mm fisheye), 21mm (XF 14mm), 28mm (WCL-X100) and 35mm (23mm on X100S).
I stepped off the plane at Charles de Gaulle Airport with my X-Pro 1 + XF 14mm and X100S ready for action and right there was already my first frame to be captured. Always be ready is important in street photography!
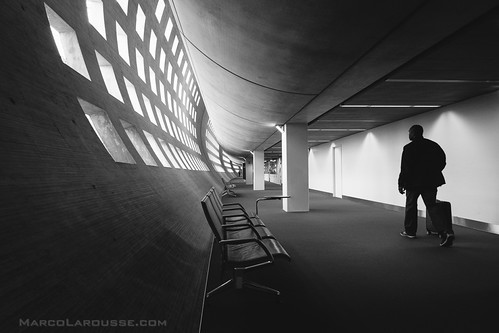 |
| The lone traveler - Fuji X-Pro 1 |
For a street photographer to start the day with a portfolio keeper is equivalent to an athlete who manages to get a great result in his first attempt. Unposed street photography is like a box of chocol... I guess you already heard that analogy too many times ;)
Off to downtown for breakfast and more street photography:
 |
| La Cigale Paris - Fuji X-Pro 1 |
 |
| Bulldog roaming the city - Fuji X-Pro 1 |
Comparing the Fuji X-Pro 1 autofocus to the improved AF on the X100S, the X-Pro 1 AF feels a bit long in the tooth now. While you can still get good results - especially when following some of
my AF tips from a previous post - I really wish for a X100S or X-T1 style performance boost on Fujifilm's top of the line camera carrying the "Pro" in its name.
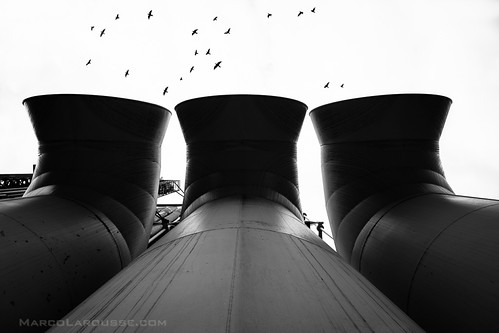 |
| Industrial Bird Production - Fuji X-Pro 1 |
 |
| Don't ignore photo art - Fuji X-Pro 1 |
 |
| Shadow walk and talk - Fuji X100S |
 |
| "2" - Paris Street Photography - Fuji X-Pro 1 |
 |
| Paris is a giant catwalk - Fuji X-Pro 1 |
And while the X-Pro 1 AF is slower than the one on the X100S I still used the X-Pro 1 for most of my photos in Paris. The XF 14mm with it's 90° field of view feels very natural to me and it gives me enough surrounding environment of the scene to put my subject into a context - like the girl in the photo above looking at the Eiffel Tower in the background.
 |
| Victory anniversary celebrations Paris 2014 - Fuji X-Pro 1 |
And the XF 14mm has the wonderful manual focus mechanism that allows me to zone focus the "traditional way" with the focus distance on the lens instead of the "virtual distance scale" in the viewfinder. This is a huge advantage and I really hope that future wide angle lenses (besides the XF 14mm and XF 23mm) and maybe even a future X100 will get this great feature, too.
 |
| Cliché Citroën 2CV and Sacré-Cœur photo - Fuji X100S |
 |
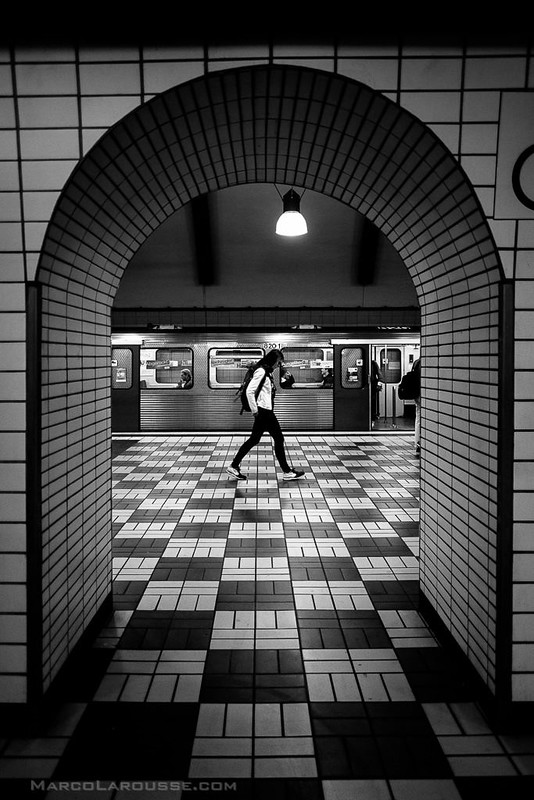
| Spaceship hiding in a Paris metro station - Fuji X-Pro 1 |
 |
| Circle of trust - Fuji X100S |
I went to Paris with a very light photo bag and only wide angle lenses. If I would go back tomorrow with a street photography assignment, would I pack differently? Not at all! It was very pleasant to move around freely with a light back and small unobtrusive and quiet cameras. And those are important requirements for successful street photography!
If you have any further questions or want to share your Fuji-X
experiences just leave a comment below, Twitter me @HamburgCam or visit
my Homepage at www.MarcoLarousse.com
And if you liked my post I am always happy if you spread the word and retweet, like or google +1 it :-)